Version 2's main changes from v1
A lot of effort went in to making v2 be everything you need, without spoiling any of the things you liked about v1.
Some things were re-named
Bones are now called Path limbs. Three Circles limbs are now called just Circle limbs.
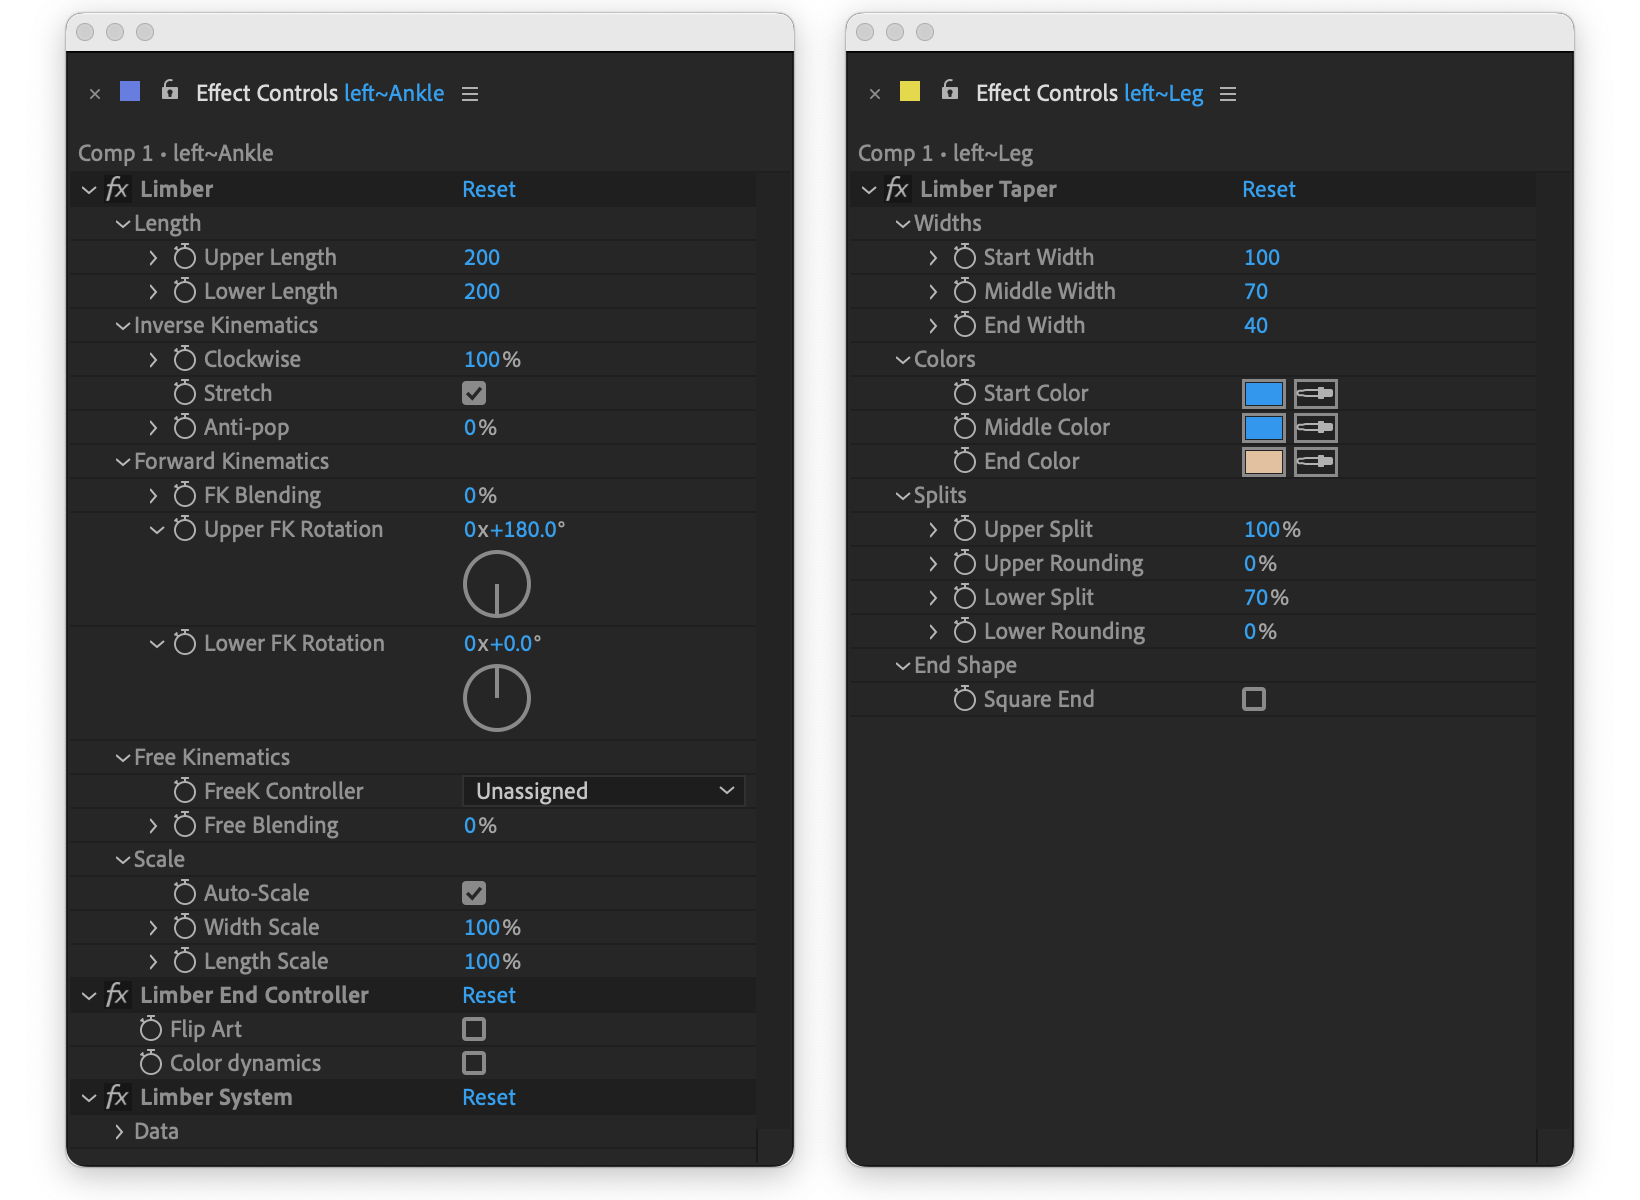
Style properties on limb layers
The main Limber effect is now only for geometry and kinematics - the stuff that all limbs have. Any property that is unique to the style of a limb now goes in it's own pseudo effect on the limb layer. This makes for a lot less redundant properties that don't do anything.
Rig & Pose
The old Rig & Pose and Path to Bone functions have been fully integrated into the limb creation process accessed with the New button.
Controllers
There are now three types of Controller: Start Controllers, End Controllers and FreeK controllers. None of them will auto-rotate. FreeK controllers are optional and have to be added by clicking the
+/- FreeK button.
Locators
FK and Joint Controllers have been replaced with Locators. These do auto-rotate and they are what you should parent your hand and feet layers to. Get one by clicking the
+/- Locator button. Try not to parent Locators to any other layer.
You can align a locator anywhere along the two sections of the limb, or to it's joint - use the effect on the Locator layer. You will also see a Rotation offset property. This allows you to dial in your own rotation on top of the auto-rotation - great for anticipation or overshoot. A handy technique is to pickwhip this property to the main Rotation property of your end controller, and animate that, so you keep all your keyframes on one layer.
One limb can have many locators. Remove one by selecting it, holding Option / Alt and clicking the
+/- Locator button.
The pouch and chevrons are parented to Locators on the left, and embedded in the limb layer on the right. The limb is The Torrence from the Limb Library.
Scaling
All new limbs have a new Auto-scale property enabled. Make sure your end controllers are parented to the master layer of your rig, and when you scale that, the limb will scale along with everything else, automatically. You also have Length Scale and Width Scale properties, so you can make a limb thicker or longer as you need. All of the Scale properties work with each other, and with any type of limb. Locators also scale automatically with Auto-scale.
Controllers can only be scaled by being parented to another layer that scales. And when they do, you won't see them scale, because the shape group inside them exactly counteracts the changes to the layer scale. Layers parented to controllers will scale as normal.
With the End Controllers and body parented to a scaling null, Auto-scale does the rest. These legs use the Steamboat Willie limb from the Limb Library.
Artwork by Walt Disney
Other changes
Pasting with and without the Option / Alt modifier key behaviors have been swapped since Limber v1.x. The default
Paste action now pastes the limb layer and it's style pseudo effect only - geometry is unaffected. Option / Alt +
Paste will additionally paste certain properties in the Limber effect - Lengths, Stretch, Scaling etc. Clockwise and Flip Art are never pasted.
You will see a button called
Add Art. This is not the same as Rig & Pose. It's only used for rigging art to an existing limb.
v2 uses a new algorithm to blend between FK and IK which always uses the shortest route. The old method sometimes resulted in you having to deal with an ‘overwound’ FK rotation when you blended to IK. That’s no longer necessary.
Clockwise interpolation is now more linear (in visual terms). If you keyframe from -100% to 100%, you won't see that super-fast flip in the middle that you did in v1.