How Limber Works
If you've never used a rigging tool like Limber before, try this: Make a new comp and click Limber's
New button, followed by the OK button. You'll then see three layers added to your timeline and one of them will be selected. Drag this layer around and see how the path limb responds intuitively, like a puppet.
Every new limb has three layers like this: the limb layer that renders, and two controllers that are guide layers - the start and end point of the limb. As you move the controllers, the limb layer responds.
For a simple character, you could parent the start controller (it's probably called left-Hip) to a body layer, and parent a foot or hand layer to the end controller. Limb layers are better off left un-parented.
With the end controller selected, if you look at your Effect Controls panel, you'll see that it has a pseudo effect called Limber with groups of properties to change the limb's Length and Scale, as well as the other Animation Modes of Forward Kinematics and Free Kinematics. All of these properties dictate the underlying geometry of the limb, and every limb has them.
Many limbs have other properties that are in a separate pseudo effect on the limb layer. The limb you made has a Curvature control to change how bendy it is - try setting this to zero. Now, you can see that your limb has two distinct sections - because it's a 2-bone limb. Limber can also make 3-bone limbs for animals, insects, and so on.
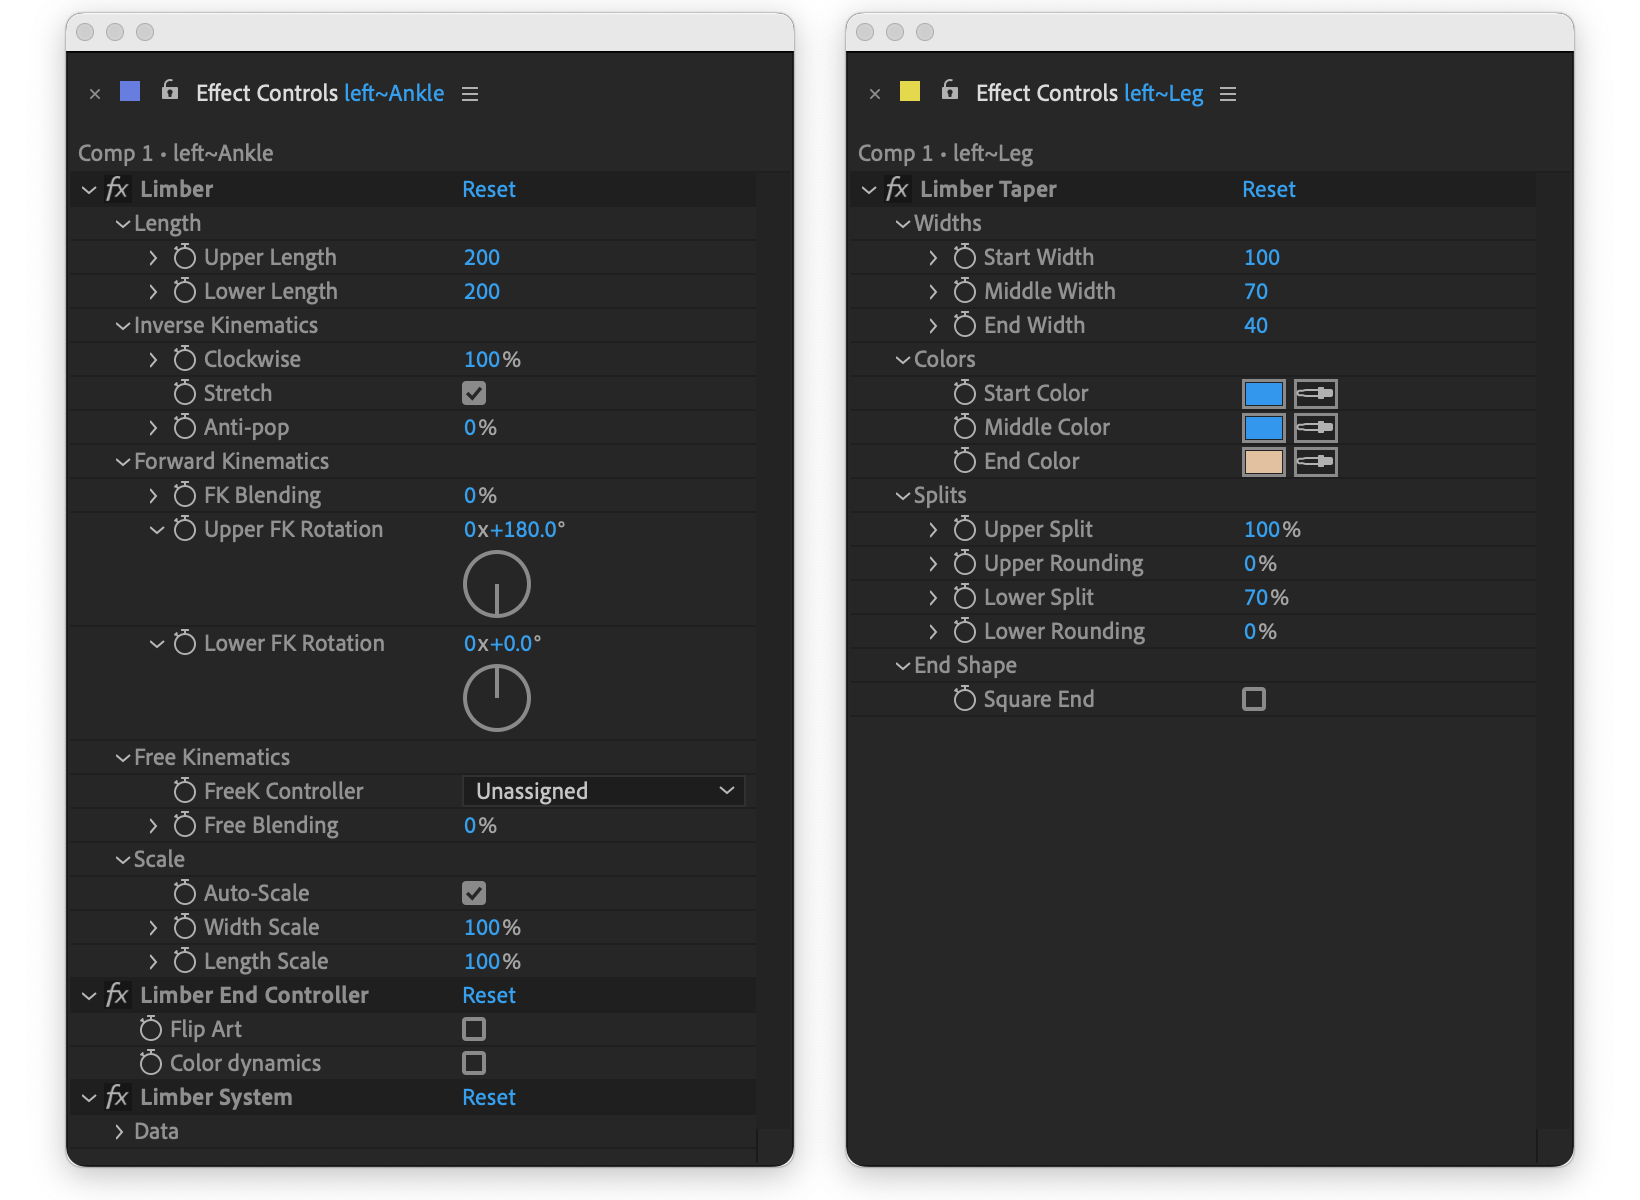
Effect controls on End Controller and Limb Layer