New Limbs
When you click the
New button, you see this panel:
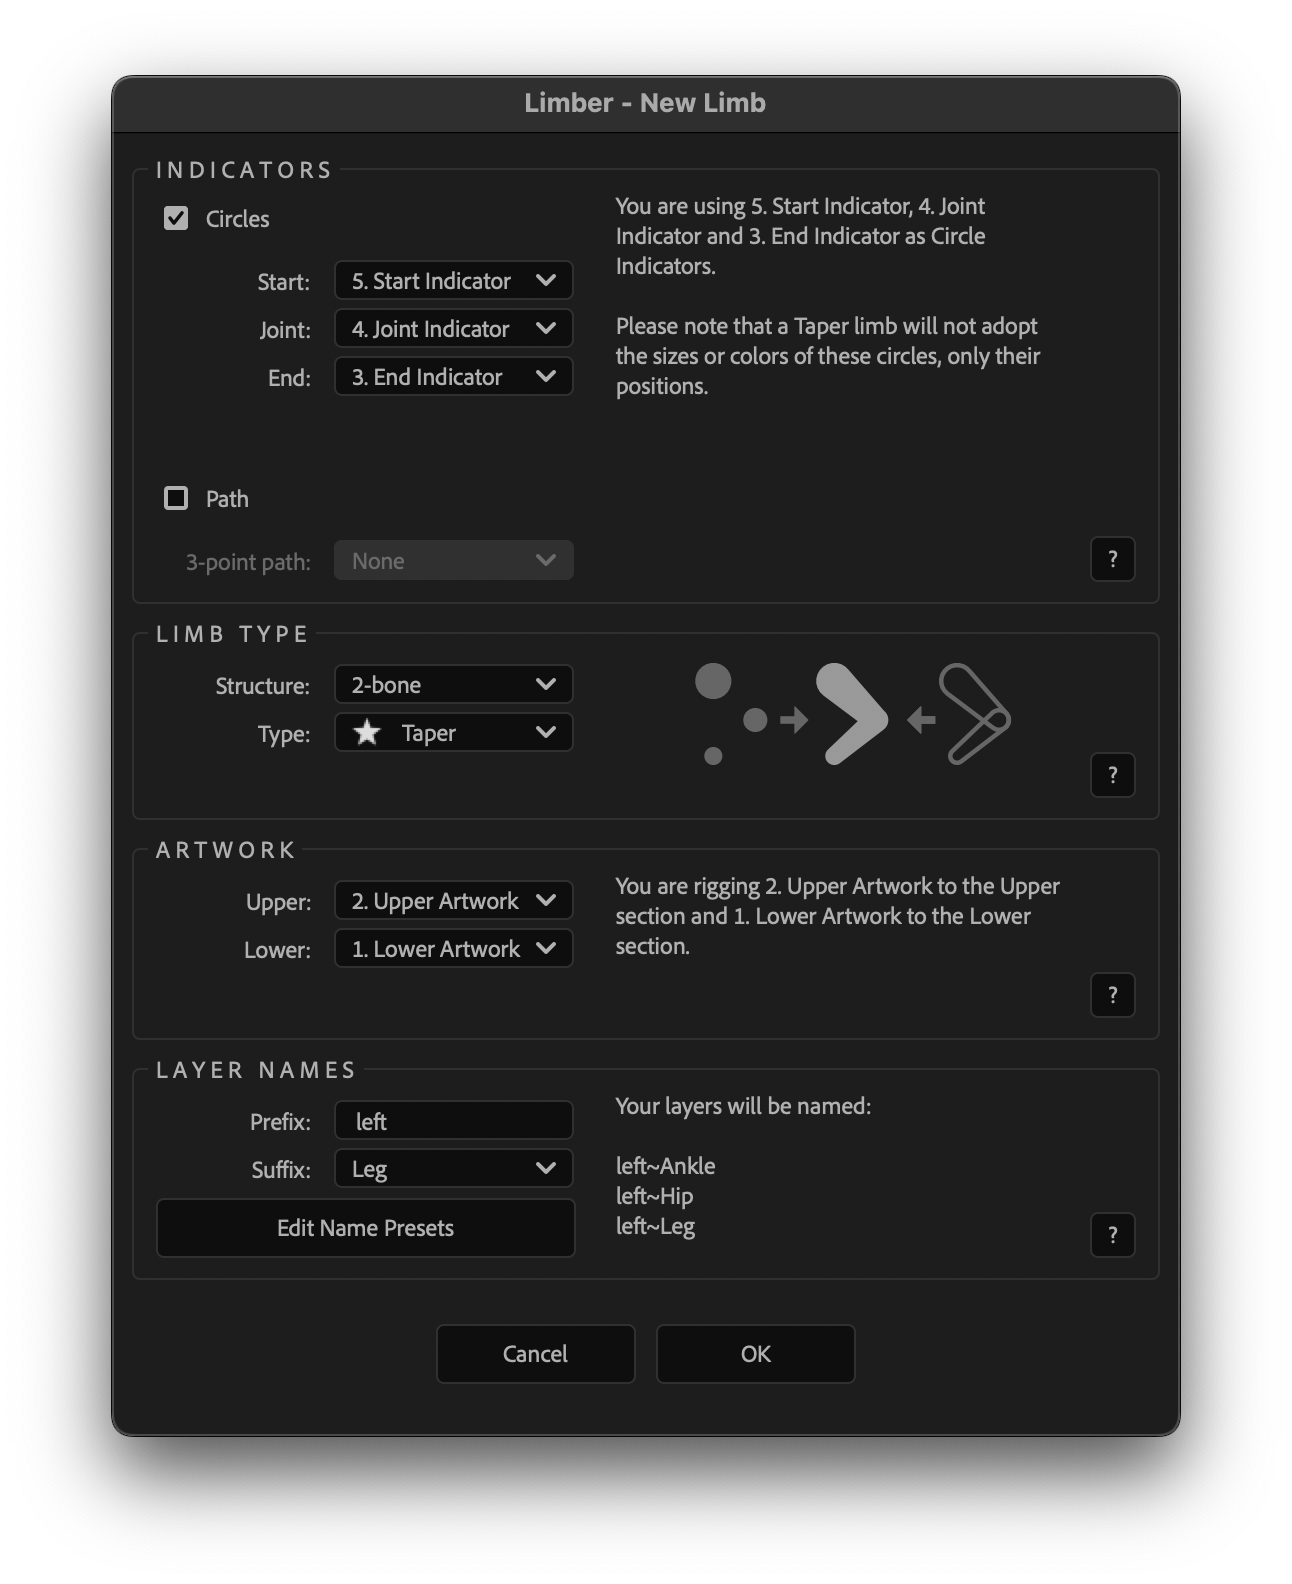
It's not as complex as it looks
It's split into four sections from top to bottom: Indicators, Limb Type, Artwork and Layer names. Each of these is covered on the next four pages of this user guide.
Each section has dropdowns on the left, and helpful, dynamic feedback on the right. The dropdowns will be pre-filled 👇 based on which layers you selected, and in what order, before you hit the
New button. Once you're familiar with this system, you'll rarely have to edit the dropdowns ever again, and most limbs will just need you to choose a name and click OK.
Dropdown pre-filling
If you are using indicators or rigging artwork, you should always select your layers from the body outwards, and select Indicators first, then artwork layers.
So if you had three circle indicators and two artwork layers, you’d select them in this order:
- Shoulder (or hip) Indicator
- Elbow (or knee) Indicator
- Wrist (or ankle) Indicator
- Upper Art Layer (bicep or thigh)
- Lower Art Layer (forearm or calf)
Limber will try to predict which type of indicator you're using and what type of limb you want to make. If you've selected 4 or 5 layers in total, it will need to ask if you're making a 2-bone or a 3-bone limb.
Select layers in the right order and rigging vector art doesn't get any faster.
Artwork by Gaspart